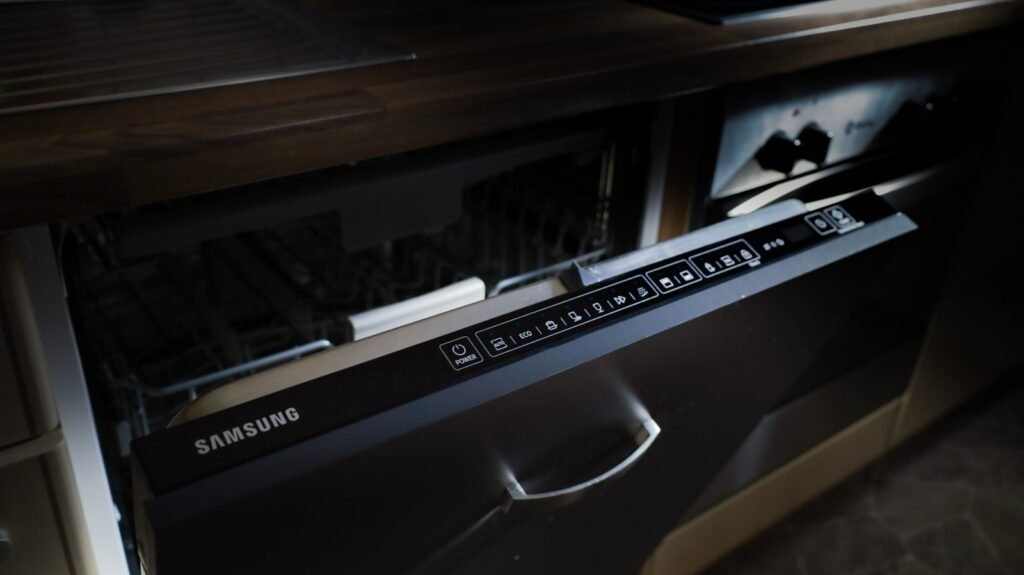
Have you just purchased a new dishwasher? Congratulations. Once it’s connected, you’ll never have to worry about dishes piling up in the sink again. But before it can run its first cycle, your dishwasher needs a secure connection to your home’s water supply, ideally a dedicated hot water line. If you have a double drawer dishwasher, each drawer typically has its own water inlet, so follow the manufacturer’s instructions for connecting both.
The good news: connecting a dishwasher to the water supply is a job most homeowners can handle themselves, without hiring a plumber, in about an hour. This guide walks through the full process, the tools you’ll need, and the U.S. code details that trip people up most often. Getting this connection right the first time matters: a loose fitting is one of the most common sources of slow, hidden leaks behind kitchen cabinetry, and those can go unnoticed for weeks before causing real water damage.
Key Takeaways
- Shut off the water at the source and unplug or de-energize the dishwasher before you start. Skipping this step is the most common cause of injury and flooding.
- Most U.S. dishwashers use a standard 3/4-inch by 3/8-inch compression fitting to connect to the hot water line.
- Never wrap Teflon tape around a compression fitting. It can prevent the ferrule from seating properly and cause leaks.
- Many local codes require a dedicated shutoff valve for the dishwasher, separate from the sink faucet’s valve, so you can service the dishwasher without cutting water to the whole sink.
- Always test for leaks with a dry paper towel before pushing the dishwasher back into place.
Tools and Materials Needed
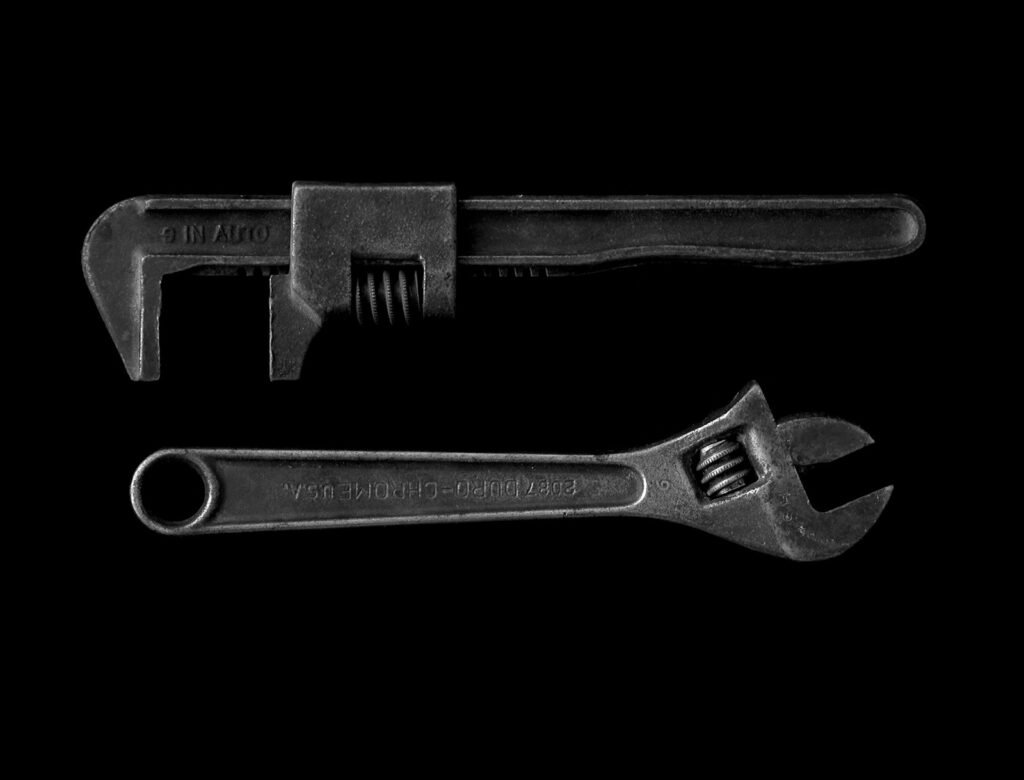
- Adjustable wrenches (two, for holding one fitting steady while turning another)
- A pair of channel-lock pliers
- 3/4-inch by 3/8-inch compression hose fitting kit (the standard size for most residential dishwashers)
- Rubber gasket or washer
- A bucket and old towels, to catch residual water in the supply line
- A flashlight, for working under the sink cabinet
- Optional: a dedicated dishwasher shutoff valve (dual-outlet angle stop), if your sink doesn’t already have one
Most of these tools are already sitting in a basic homeowner tool kit, and the compression fitting kit itself typically costs well under $20 at any U.S. hardware store. Budget about an hour from start to finish, including the leak test.
Step 1: Shut Off the Water Supply and Disconnect Power
Before you touch a single fitting, turn off the water at the shutoff valve under the sink, or at the main water supply if there’s no dedicated valve yet. Then unplug the dishwasher or switch off its circuit breaker. Working on a live electrical connection near water is a serious shock hazard, so don’t skip this step even if you’re only planning to work on the water line. If you’re not confident handling any part of this job, it’s worth calling in a licensed local plumber rather than risking a leak behind a wall.
Step 2: Verify Compatibility With Local Code
Before buying fittings, confirm what your local plumbing code requires. Most U.S. jurisdictions expect a standard 3/4-inch by 3/8-inch compression fitting between the copper supply line and the dishwasher’s water valve, but some local amendments differ. If the fitting size is wrong, it won’t seat properly on either the dishwasher valve or the copper pipe, which is one of the most common causes of a slow, hard-to-diagnose leak.
Step 3: Locate and Prep the Hot Water Line
Pull the dishwasher away from the cabinet opening enough to access its water inlet valve, then find the hot water supply pipe under the sink. It’s usually copper and protrudes from the wall or floor near the sink cabinet. If it already has a valve, use an adjustable wrench and pliers to remove it, then wipe the copper tubing clean of any dirt, mineral buildup, or old thread sealant that could block water flow or prevent a tight seal. If you’re replacing an older dishwasher, take a close look at this pipe for corrosion or pitting. Old copper that’s thinned out is a common reason a brand-new fitting still leaks, and it’s worth flagging to a plumber if you see it.
Step 4: Install the Nut and Ferrule
Before attaching the 3/8-inch hose fitting, slide a compression nut onto the copper pipe, followed by the ferrule, about an inch into the pipe. Route the supply line so it doesn’t rest against the dishwasher’s base frame or motor housing. Any contact there can cause rattling or vibration once the dishwasher is running.
Step 5: Connect the Water Supply Line
Insert the water supply line fully into the 3/8-inch compression fitting so there’s no gap that could leak. Make sure the 3/4-inch hose end faces upward toward the dishwasher’s valve, and seat the rubber washer at that connection. Skip the Teflon tape here. It can keep the ferrule from sealing properly against the compression fitting. Turn the compression nut clockwise by hand first, then snug it with an adjustable wrench, gently. Copper tubing kinks easily, so avoid overtightening.
Step 6: Attach the Hose Fitting to the Dishwasher Valve
Align the 3/4-inch hose fitting with the dishwasher’s water inlet valve and thread the coupling by hand to avoid cross-threading. Use pliers only to check the tightness, not to force the initial connection. Confirm the rubber gasket is fully seated before final tightening, but stop as soon as it’s snug. Overtightening can strip the threads and cause the exact leak you’re trying to prevent.
Step 7: Test for Leaks Before Sliding the Dishwasher Back
Turn the water supply back on partway and place a dry paper towel under both the 3/4-inch and 3/8-inch fittings for a few minutes. Any dampness on the towel means a connection needs to be tightened further. Recheck after a few minutes; slow leaks sometimes take a moment to show up.
Step 8: Consider a Dedicated Shutoff Valve
If your dishwasher’s supply line taps directly into the same valve as the kitchen faucet, you’ll have to shut off water to the entire sink every time the dishwasher needs service. According to a professional dishwasher installation guide for contractors and inspectors, this is one of the most common issues found during installation checks, and many U.S. jurisdictions address it by requiring, or at least strongly recommending, a dual-outlet angle stop: a valve with one outlet for the faucet and a second, independent outlet for the dishwasher. If your sink doesn’t have one, this is a good time to add it, since you already have the cabinet opened up and the water off.
Step 9: Slide the Dishwasher Back and Restore Power
Prefer to watch the process instead? Whirlpool’s own installation video walks through the same water-supply connection shown below.
Once you’ve confirmed there are no leaks, carefully push the dishwasher back into its cabinet opening without pinching or kinking the supply line. Turn the main hot water valve fully on, then reconnect power by plugging the dishwasher in or switching the breaker back on. Run a short cycle and check under the sink and around the base of the dishwasher one more time for any signs of leaking.
Common Mistakes to Avoid
- Using Teflon tape on the compression fitting. It’s the right tool for threaded pipe joints, but it can interfere with how the ferrule seats in a compression fitting.
- Overtightening connections. More torque doesn’t mean a better seal. Past a certain point, it strips threads or deforms the ferrule and causes the leak you were trying to prevent.
- Skipping the leak test. A slow leak behind a dishwasher can go unnoticed for weeks and cause real water damage to cabinetry and flooring.
- Forgetting to shut off power first. Even if you’re only working on the water line, disconnect power. Some dishwasher valves sit close enough to wiring that this matters.
- Reusing an old, brittle gasket. Rubber gaskets harden and crack with age. If yours looks worn, replace it. A new gasket costs a couple of dollars and is far cheaper than a repeat leak test.
When to Call a Professional
Most dishwasher water-supply connections are a straightforward DIY job with basic tools. But call a licensed plumber if you don’t have an existing shutoff valve and need one installed, if your home has older or unusual pipe materials (such as galvanized steel or PEX with different fitting standards), or if a permit is required in your area for new plumbing connections. Getting it inspected and done right the first time is cheaper than repairing water damage later.
Notes for Different Dishwasher Types
Whether you’re installing a single drawer dishwasher, a countertop dishwasher, or a standard built-in model, the water supply connection follows the same basic steps. Countertop dishwashers typically connect to the kitchen faucet with a quick-connect adapter instead of a permanent copper line, which makes installation and removal faster but is not intended as a permanent hookup. If you’re also connecting the dishwasher’s drain line near a garbage disposal, see our guide on plumbing a kitchen sink with a disposal and dishwasher for that side of the installation.
Frequently Asked Questions
Does a dishwasher need hot or cold water?
Hot water. Dishwashers rely on hot water, ideally around 120°F, to activate detergent enzymes and dissolve grease effectively. Connecting to a cold line will still run the cycle, but cleaning performance drops noticeably.
Do I need a permit to connect a dishwasher to the water supply?
It depends on your jurisdiction and the scope of work. Replacing a dishwasher using an existing shutoff valve and supply line typically doesn’t require a permit in most areas. Adding a new dedicated shutoff valve or altering existing plumbing may. Check with your local building department if you’re unsure.
Can I use Teflon tape on the dishwasher water line?
Not on the compression fitting itself. Teflon tape is designed for threaded pipe connections, and using it on a compression fitting can prevent the ferrule from seating correctly, which causes leaks rather than preventing them.
Why is my dishwasher connection leaking after installation?
The most common causes are an under-tightened compression nut, a ferrule that didn’t seat correctly, or a missing or damaged rubber gasket at the dishwasher valve. Recheck each connection point individually with a dry paper towel to isolate exactly where the leak is coming from.
Can I connect a dishwasher without a dedicated shutoff valve?
You can tap into the same valve as the kitchen faucet, but it means shutting off water to the entire sink every time the dishwasher needs service. Installing a dual-outlet angle stop with a separate outlet for the dishwasher is worth the extra step for long-term convenience.
What size water line does a standard dishwasher use?
Most residential dishwashers in the U.S. use a 3/8-inch supply line connecting to a 3/4-inch fitting on the dishwasher’s water inlet valve, which is why compression kits are sold specifically as “3/4 by 3/8” sets. Always check your dishwasher’s installation manual to confirm, since a small number of models vary.
Conclusion
Whether you’re installing a single drawer, double drawer, or countertop dishwasher, connecting it to the water supply is a manageable weekend project with the right tools and a little patience. The keys to a leak-free connection are using the correct 3/4-inch by 3/8-inch fitting size, skipping the Teflon tape on compression fittings, tightening gently rather than forcing it, and testing thoroughly before you push the dishwasher back into place. Budget about an hour for the job, and don’t skip the leak test at the end.

Hey, My name is MAMON. I am a SEO content creator and affiliate marketer with over 8 years of experience. I create honest product reviews, in-depth buying guides, and practical how-to articles to help readers make informed decisions. My mission is to provide trustworthy, research-backed content that delivers real value.
Leave a Reply